
How to... Repurpose an old necklace

I know I spend a lot of time trying to make you all buy things from my Folksy shop but I’m aware that perhaps some of you are thinking “I could do that”. Well yes you can! And to help you out, here’s a quick tutorial for an easy way to rework an old bead necklace into something fabulous.

You will need: A pearl necklace about 25 inches long
Four lengths of chain, ranging from 14 to 16 inches long
A pair of clip on earrings
Jump rings
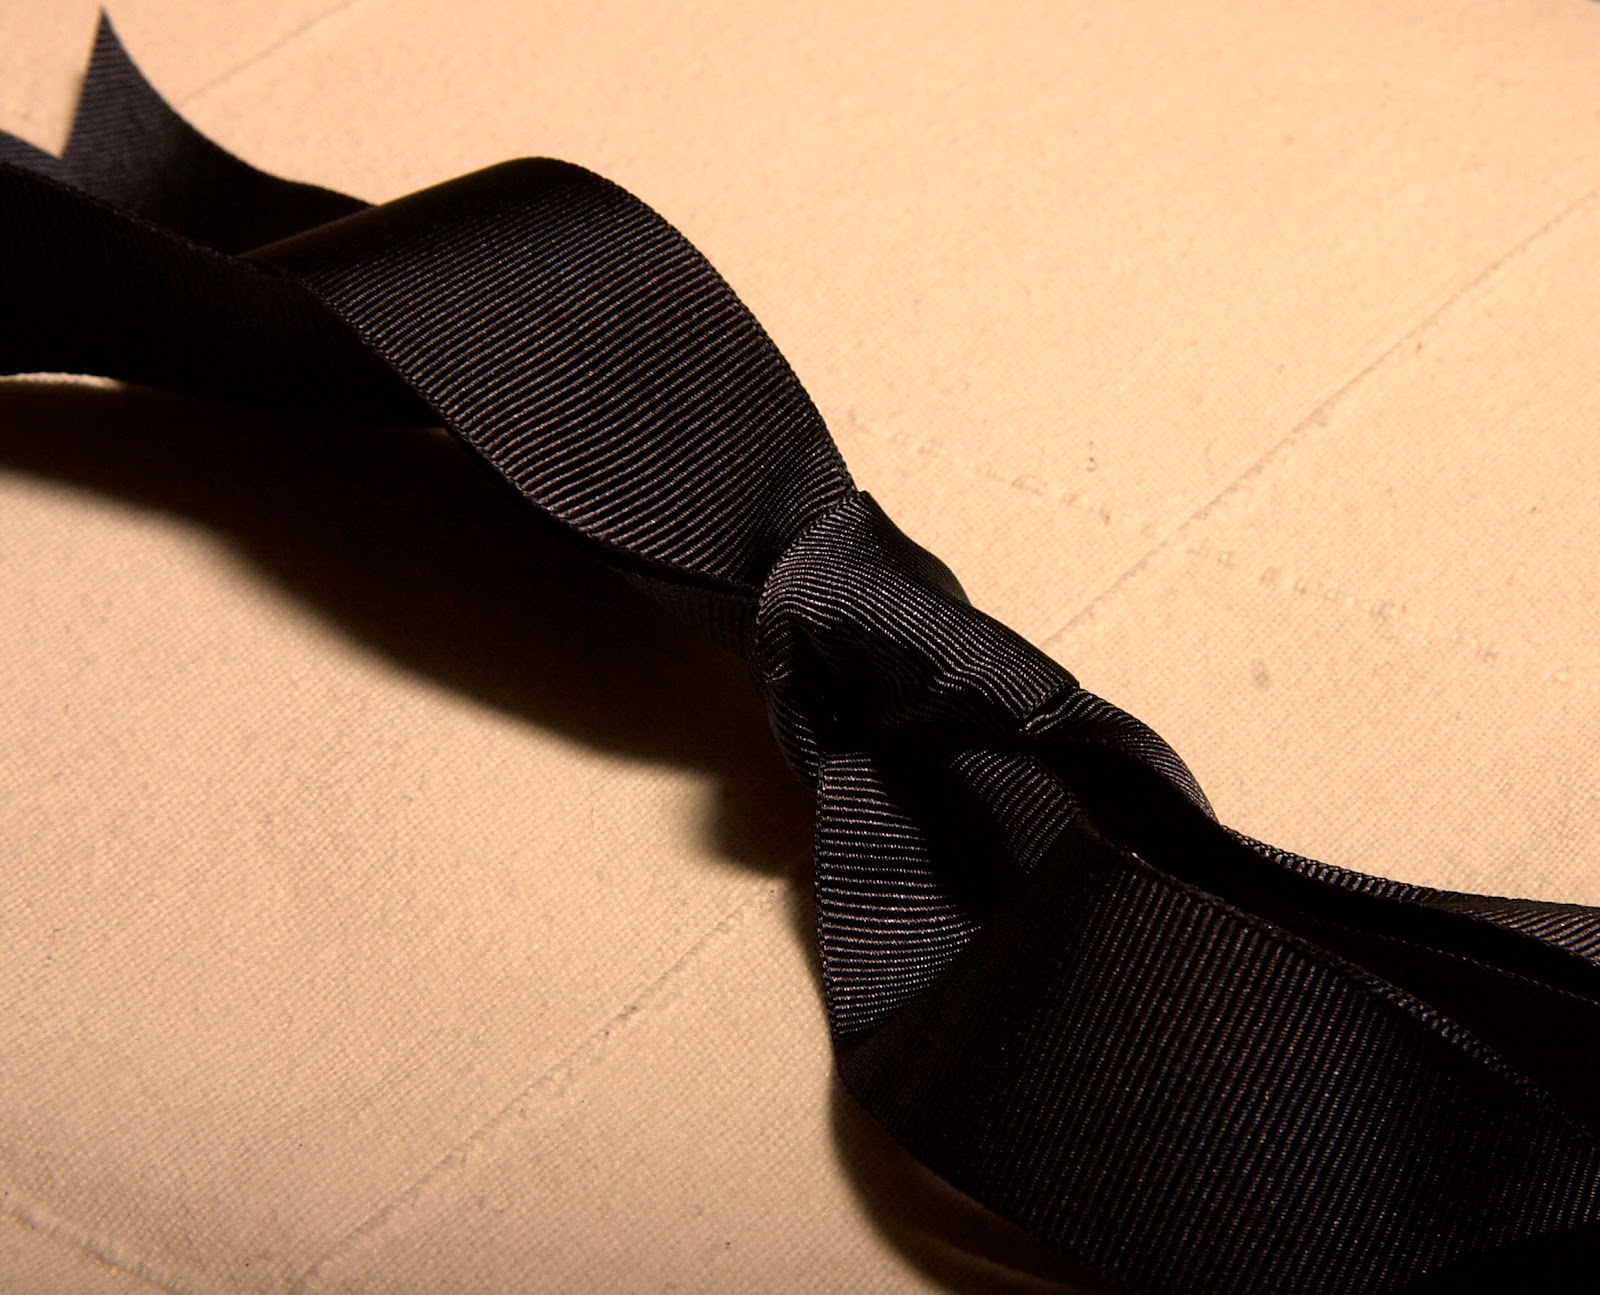
Two lengths of grosgrain ribbon, about 28 inches each
Scissors
Bent nosed pliers

TIP – This is a good way to use old, broken necklace chains. Mix with new chain bought from a craft shop if you don’t have enough.


Fold the pearl necklace in half. If there is a clasp, use this as one end. Open a jump ring and place around the string at one of the folded ends.


Thread the ends of all four pieces of chain through the jump ring...


...and close. Repeat on the other side. You should now have the main body of your necklace.


Using jump rings, catch through one chain and attach it to the string of the necklace to form a loop. Repeat for the other four chains. The chains may get tangled up – don’t worry, this just adds to the effect. Aim to make four to six loops, equally spaced along the necklace, depending on how simple or how tangled you want your finished necklace to look.


Tie the ribbon around the necklace and chains at one end, using the knot to cover the jump rings. Repeat on the other side.


Open one clip on earring. Push the clip through the knot in the ribbon. You may have to loosen it slightly.


Once the clip is through, make sure the knot is tight again and close the earring. Fix in place with a dot of superglue, if necessary.


Tie the ribbon so the necklace is long enough to slip over your head.

Sadly I don't have a picture of the finished product as the magazine this tutorial was commissioned for neither paid me as they were contracted to do, nor returned the necklace which had been sent to them to photograph on a model. But hopefully you will get some idea of how cute it is from these pics!


Follow

Comments

Very nice Designer Necklaces. It looks very smart and trendy in the metallic finish.

Popular posts from this blog

Explosion in a jewellery box

It took me ages to find a pretty way to store the jewellery for my Folksy shop . I didn't want it to get muddled up with my own jewellery, but at the same time I didn't just want to stick it all in a box. I also wanted something that I could take with me to craft shows. At first I used a French shabby-chic style mini jewellery mannequin, but it soon got full! Then I found a gorgeous bird-themed jewellery stand. Unfortunately I've been so busy making lovely new items recently that tha's got a bit stuffed too! Oh dear... (Sorry about the picture quality, I had to take them on my mobile) I think it's probably time to buy another jewellery stand. I want one that will complement my existing ones but not exactly the same. Any suggestions will be happily welcomed. And how do you all store your stock? Is it tucked away under a bed or proudly on display to make the most of any visitors?

Press releases - a basic guide

As a crafter/designer, I know there can be nothing more thrilling (and potentially profitable) than seeing your name in print. As a full-time journalist, I know there is nothing more likely to go straight in the trash folder than a bad press release. So. How do you maximise your chances of your local newspaper, glossy mag or specialist crafting magazine taking notice of you? I can't guarantee that these tips will get you press coverage, but they will certainly help. 1. Get the right person. Buy a copy of the publication or visit their website and find who the best person to contact is. Any email that starts "I'm not sure if you're the right person..." goes straight in my trash folder - it suggests that the sender has no respect for my time, which is over-full as it is, without wasting my time reading things that aren't relevent to me. If in doubt, ring and find out. While you're at it, find out what their deadlines are - and stick to them. 2. Get to the po...

Mmmm... Cupcakes

Adorable Boyfriend and I went to Harrogate yesterday and today. We were going to go to Betty's for cake and tea, but the American tourists were queuing round the corner so they could tell their friends they'd done something really English. Luckily we found somewhere just as gorgeous - but much less well-known. Cupcakes by Charley make amazing glittery, yummy cupcakes in fabulous colours and flavours. I had a "Charley's Angel" - vanilla with pink glitter, while Adorable Boyfriend (his proper name's Steven, incidentally and he's modelling his gorgeous new haircut that it took me months of whingeing for him to get below)had a chocolate Crunchie confection. Her website's not ready yet, but you can see her Facebook page with lots of lovely pictures here .